Building the Bomber Cam with 3d printing and scraps
Patrick Letourneau
My Kodak Aero Ektar with the focus adapter i built
Originally produced for the US military in WW2, the Kodak Aero Ektar 178mm f2.5 is a large format monster of a lens. Mounted in bombers, facing down at Europe, this lens was sold to the US government for the price of a family car. It found its way into military surplus after the war, and was widely used in journalism and by professional photographers.
All images in this post are expandable
I managed to come into one of these lenses through my uncle, who was director of the radiation protection bureau of Canada. I mention the radiation part, because the rear element is made of thorium glass, which happens to be radioactive! That's right kids, it's giving off all sorts of tasty rays. Luckily the danger is negligible unless you make contacts out of it, or grind up the glass and snort it. One side effect of the composition is the browning of the glass over time, which can be reversed (not that i want to. Such a nice tint of brown!)
Panasonic 20mm f1.7 with reverse mount adapter.
So i have this lens, and i want to use it to close to its full potential. I dont do film, and just placing it in front of my GH2's cropped sensor would make it a super telephoto, so instead i decide to built a focus adapter.
Bust out the 3d printer
So i decide on a ground-glass style adapter, only i cant find frosted glass fine enough to resolve a lot of detail. What i end up using was the diffuser from an old LCD I had. Diffusers are super fine-frosted sheets of plastic that spread out and even out the backlight on your monitor. I cut a piece to size and knew i had to build a housing for it. I started off with a pair of aluminium square tubes, as knew i wanted to build an adapter that could host my digital camera. The lens would throw onto a ground plane, and the camera would photograph the flipped image from the diffuser. Luckily, i have access to an Up! Personal Portable 3D Printer. I started measuring the lens and designing a support bracket in Cinema 4D
This thing is huge
The print was accurate to within 200 microns
Printing in progress
boom. The quality was so high that i printed a friction-fit ring to seal the lens to the bellows.
A handy man would have crafted a beautiful box out of mahogany, with dovetail joints, lined with fine black velvet and decorative brass hardware. I had matte black spray paint, epoxy, and little regard for proper ventilation. I set off putting together an aluminium frame to act as an epoxy magnet, and painted the crap out of it to cover up my shame.
the frame that holds this poorly thought-out design together
More epoxy than i care to admit to
The finished box. This is the length my camera needs to focus on the ground glass plane
I then folded a bellows out of stiff paper and cloth tape. The bellows provides me with a push-to-focus functionality
A diagram
Here, with the top and back removed, you get an idea of what my camera is seeing. Note the shallow DoF and flipped picture
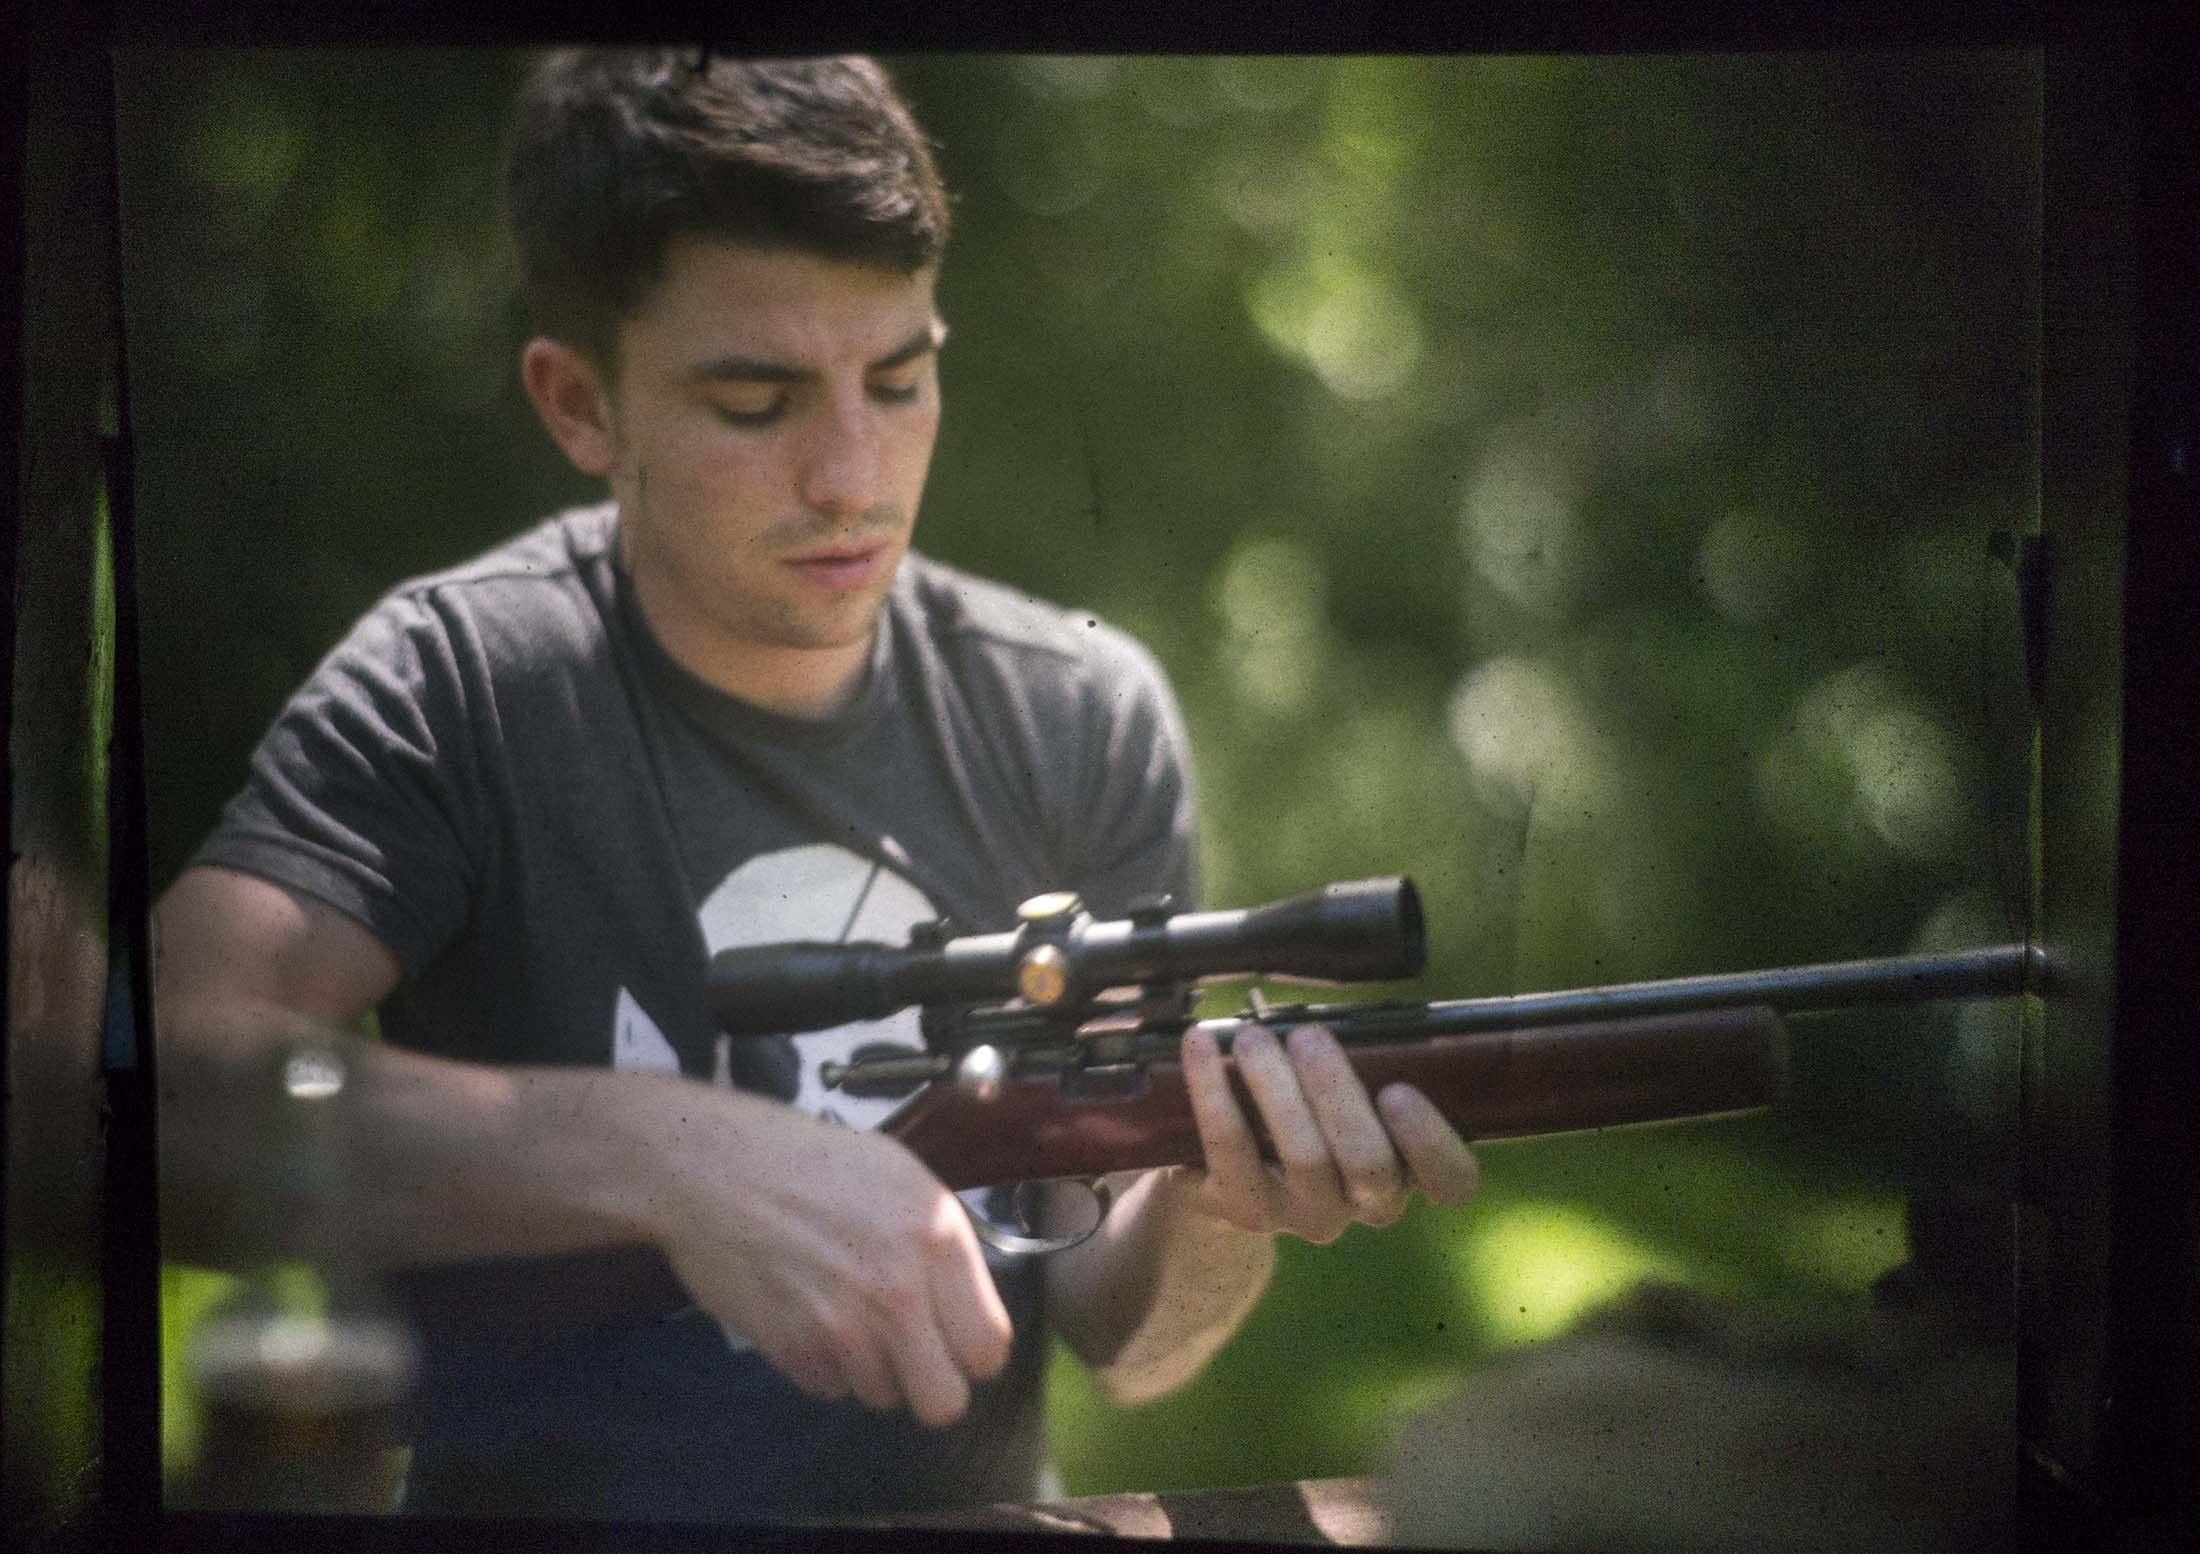
Photos
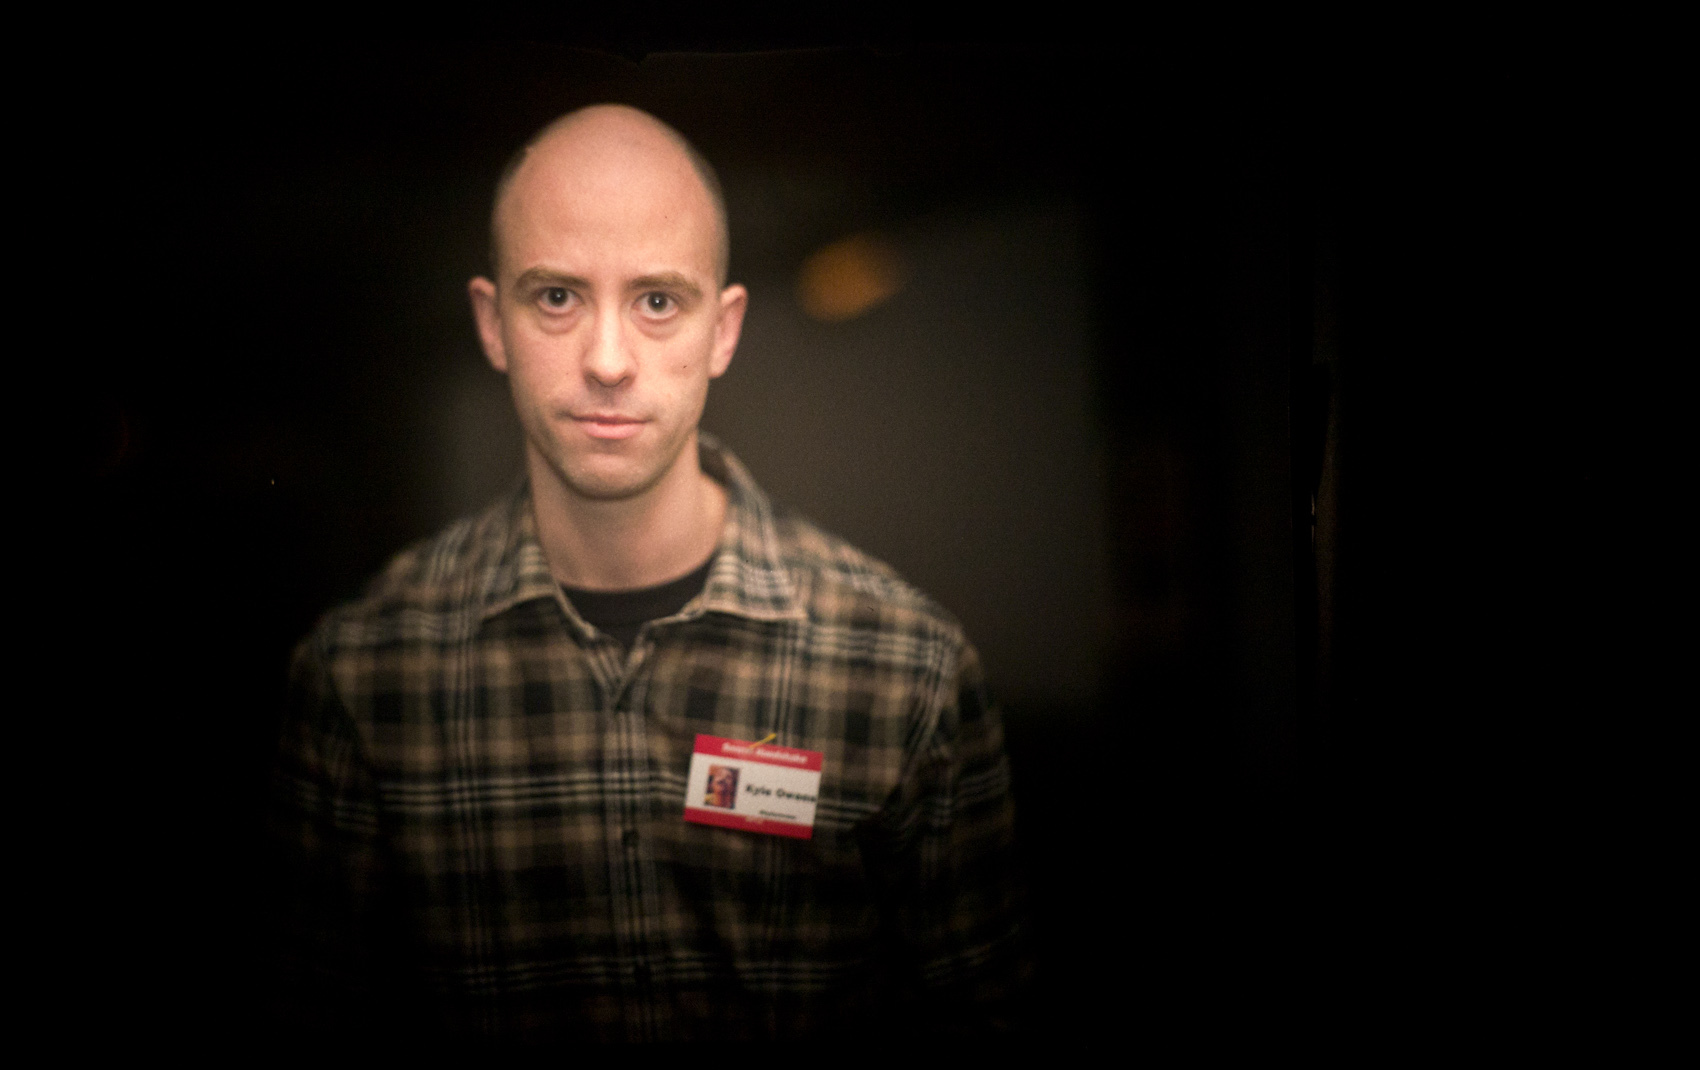
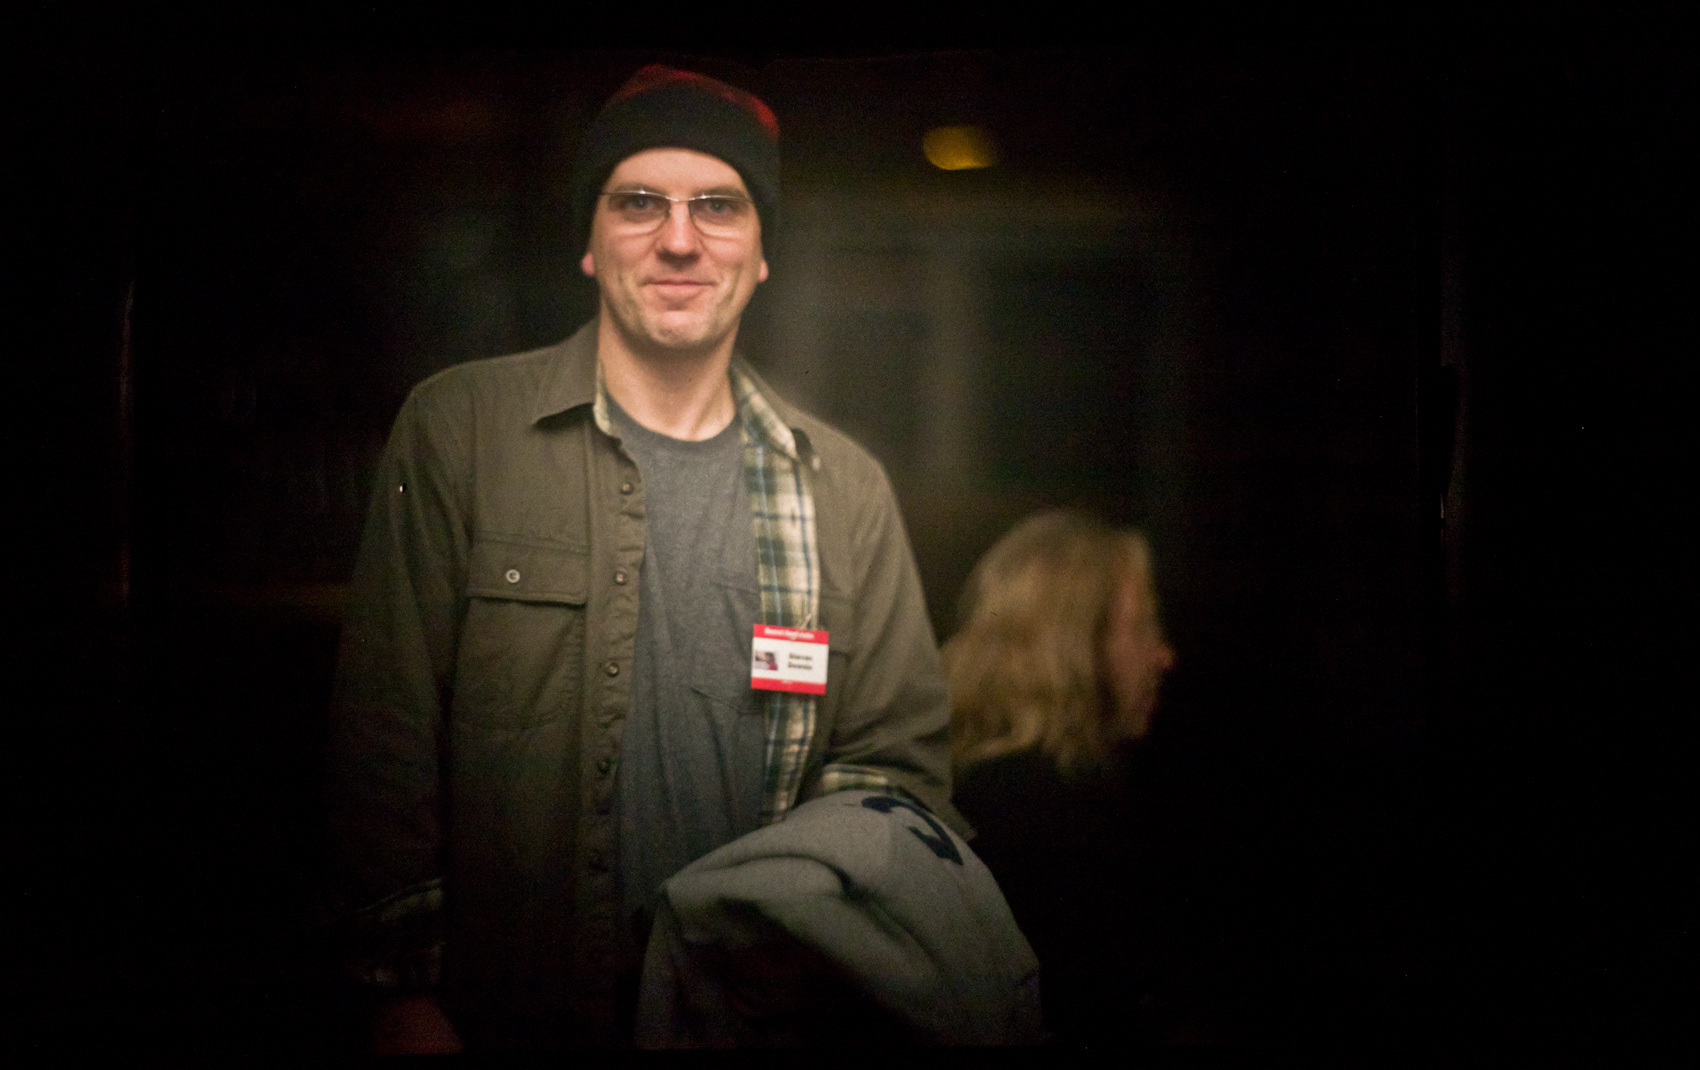
click to expand


I took the completed setup to my favorite creative meetup, Secret Handshake. It was taking place in a dark pub and there were about 75 people that night rubbing elbows. I had the whole assembly on a tripod with a Nikon flash bouncing off the ceiling. The atmosphere was perfect for this vignetting and graininess